
By 2026, High Rank in Monster Hunter Wilds has settled into a familiar rhythm for veteran hunters: sharpen the plan, read the monster, and turn every opening into a story worth retelling. For one hammer hunter, that story begins not with a flashy swing, but with a quiet decision in camp. The hammer is a stubborn, heavy-hearted partner. It does not dance around a monster; it waits, plants its feet, and then answers with a blow that feels like a closing argument. The goal is simple to say and harder to live by: maximize every hit, cover the weapon's slower recovery, and keep the monster from writing its own ending.
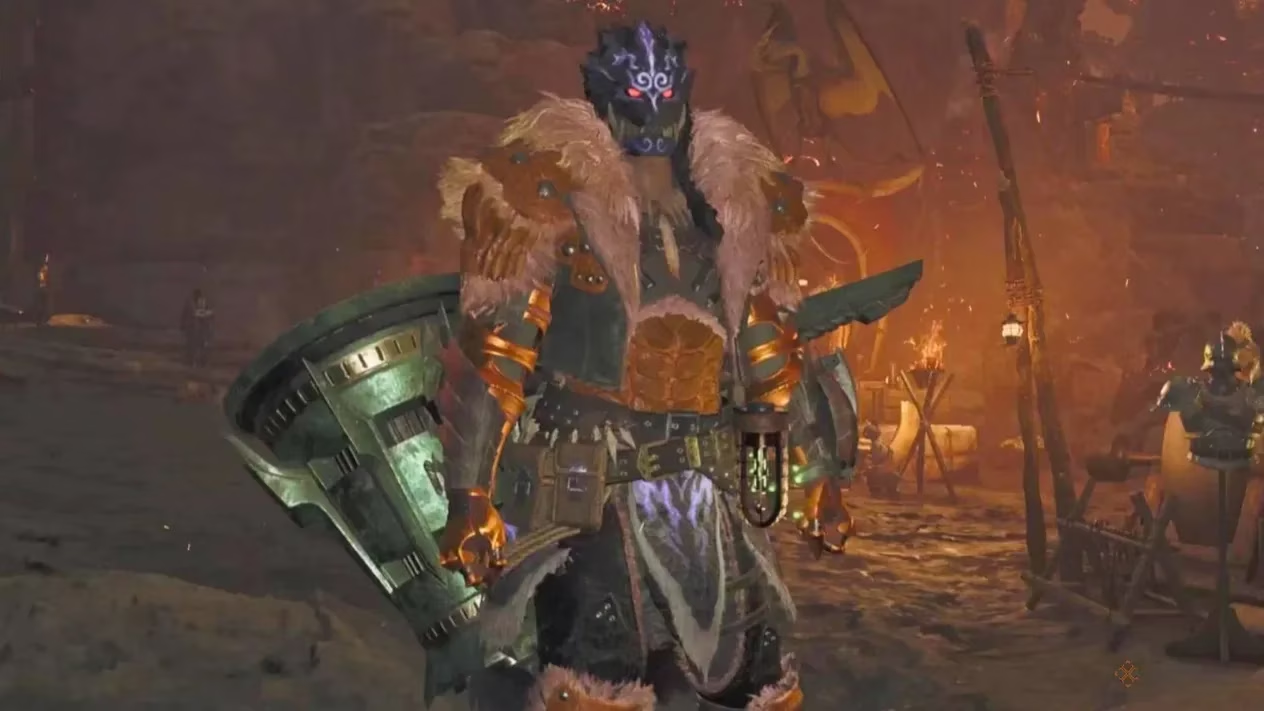
The hammer is not one of the quicker-hitting weapons in Monster Hunter Wilds, and that places it behind average when it comes to stacking many status effects. It can still inflict them, but it is less capable of doing so than faster weapons. That is why the hunter's plan leans on something the hammer already owns: stun. Blunt damage to a monster's head builds an invisible stun meter, and when that meter fills, the monster's lights go out for a moment. The hammer comes with what is essentially a built-in status effect, so the build can either accentuate it with a second effect such as paralysis or blast, or ignore extra status entirely and pour everything into damage and critical chance.
The Hammer Build at a Glance
For this build, the hunter uses specific armor and decorations to produce particular skill effects. In many cases, swapping a piece will not ruin the idea as long as the Equipment Skills line up.
| Slot | Item | Key Effects | Decorations |
|---|---|---|---|
| Weapon | Artian Hammer | Affinity Boost, Focus | Critical Jewel ×3 |
| Head | Guardian Ebony Helm B | Burst II, Ebony Odagaron's Power II | Evasion Jewel |
| Chest | Udra Miremail A | Burst I, Resentment I | Destroyer Jewel ×2 |
| Arms | Guardian Ebony Braces B | Burst I, Divine Blessing I, Ebony Odagaron's Power II | Evasion Jewel, Jumping Jewel |
| Waist | Guardian Ebony Coil B | Burst I, Ebony Odagaron's Power II | Jumping Jewel, Evasion Jewel |
| Legs | Guardian Ebony Greaves B | Divine Blessing I, Earplugs I, Ebony Odagaron's Power II | Destroyer Jewel, Refresh Jewel |
| Talisman | Counterattack Charm | Adrenaline Rush I | — |
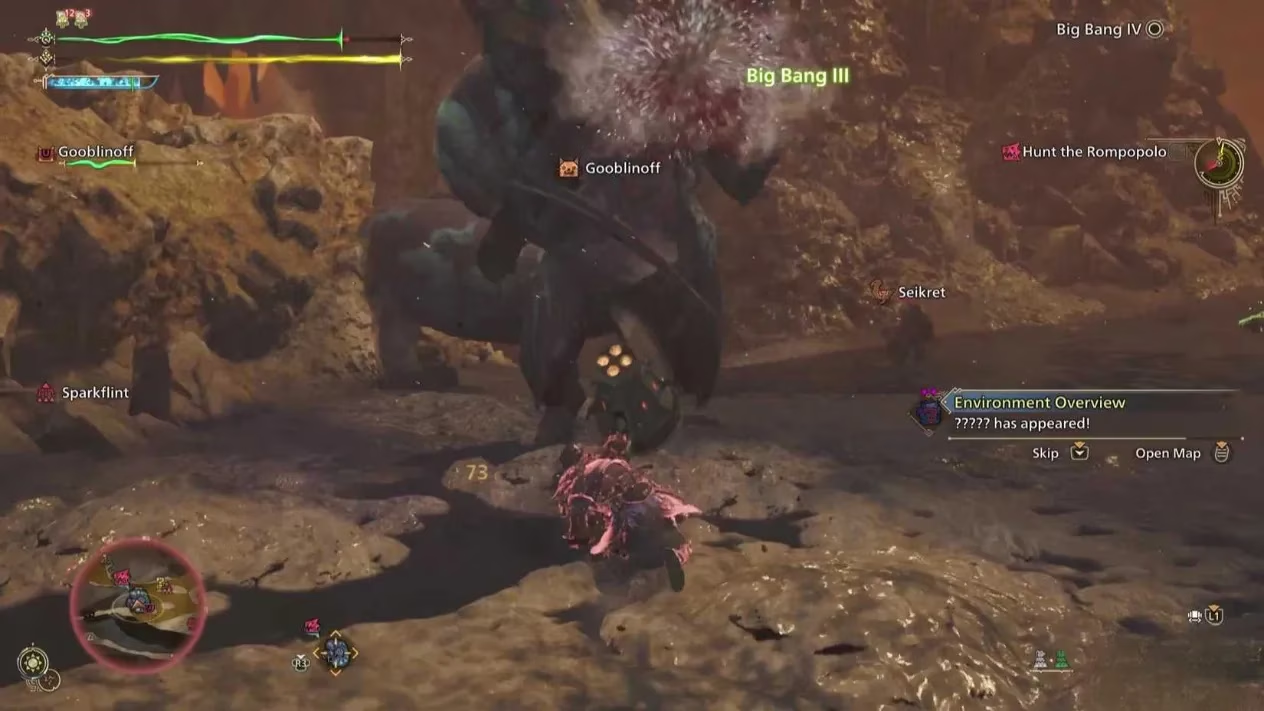
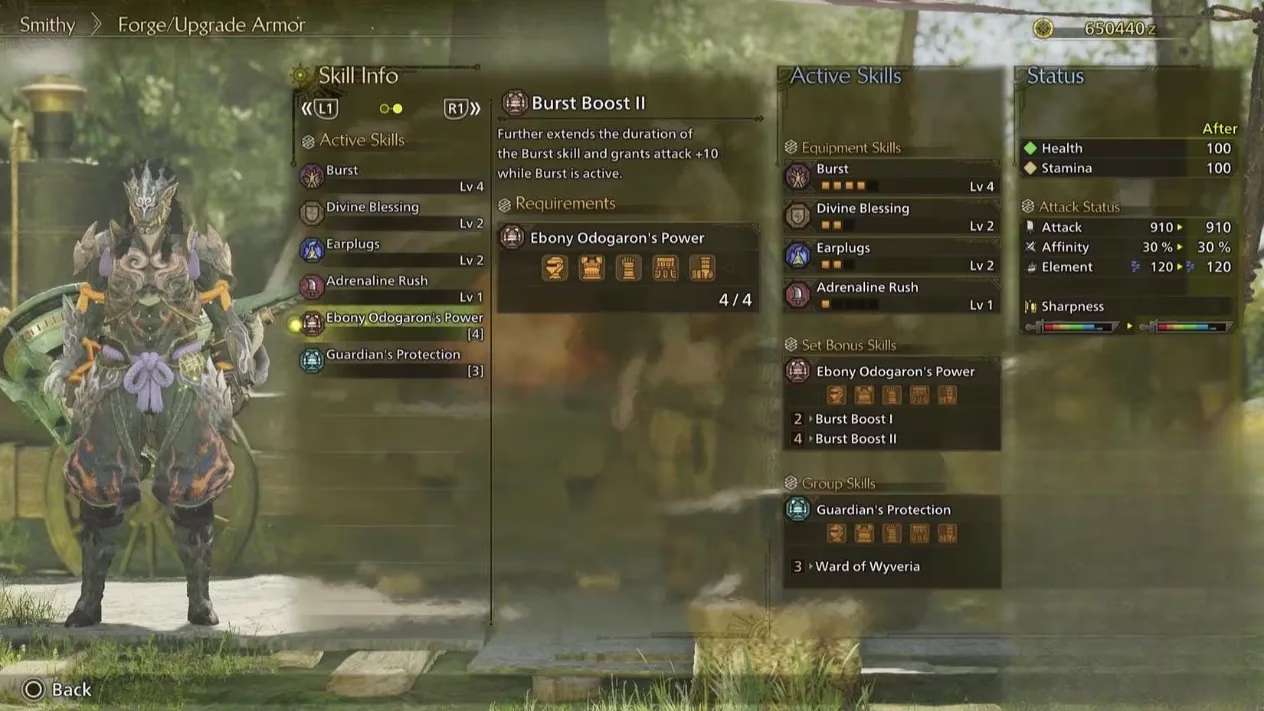
The armor set gives the hunter Burst V, a significant stat increase after landing multiple hits on a monster. Burst Boost II extends the window in which Burst remains active, and that matters enormously for a hammer, which hits more slowly than many other Burst users. Resentment I adds a small damage bonus while attacking with a red portion of health that is recovering. Divine Blessing II offers a chance of 30 percent damage reduction from incoming attacks. Earplugs I protects against the roars of weaker monsters. The most important effect is Burst, which stays active more or less all the time because of Burst Boost II.
Decorations and the Art of Not Getting Hit
The decoration effects depend on the level of jewel placed in each slot. As hunters progress through High Rank, they gain access to higher-level decorations, and this gear carries slots for both level one and level two jewels. Evasion Jewels lengthen the invulnerability window while dodging. Jumping Jewels increase dodge distance. Destroyer Jewels increase damage to monster parts and increase damage when hitting wounds with a Focus Strike. A Refresh Jewel improves stamina recovery. Critical Jewels increase the damage of critical attacks.
The goal here is mostly to improve the hunter's ability to dodge monster attacks. The easier dodging becomes, the less damage the hunter takes, the less time goes into healing, and the more time goes into attacking and keeping Burst alive. The critical damage boost matters just as much because of the hammer choice. A well-timed dodge is not an escape; it is a reload.
The Artian Hammer Choice
For this build, the Artian Hammer's chosen effect is flexible. Sleep and Paralysis are probably the most ideal, but the more important choice is Affinity Boost rather than Attack Boost. Affinity Boost increases the chance of scoring a critical hit. The more critical hits the hunter lands, the more extra damage the Critical Jewels scoop up. The hammer does not need to chase every status effect. It needs to make the hits it already lands count.
How the Hunter Plays This Build
This hammer build is all about keeping the pressure on the target. It puts tools at the hunter's disposal for dodging attacks, and experience against each particular monster sharpens those tools. The build shines particularly bright in skilled hands, but it will not rescue an inexperienced hunter. It rewards patience, head targeting, and a willingness to read the monster's next move.
The hunter keeps attacking a monster's head as often as possible to trigger stun. When the monster drops, the hunter goes to town with as much damage as can be mustered. Partbreaker and Destroyer help break monster parts more easily and make wounds more useful. Resentment provides a small damage buff right after the hunter takes damage, so even a lost rhythm can become a punish. The armor whispers a simple promise: hit often, hit cleanly, and the numbers will climb. The monster may roar, turn, and swipe, but the hammer answers every opening with weight. The rest is timing.
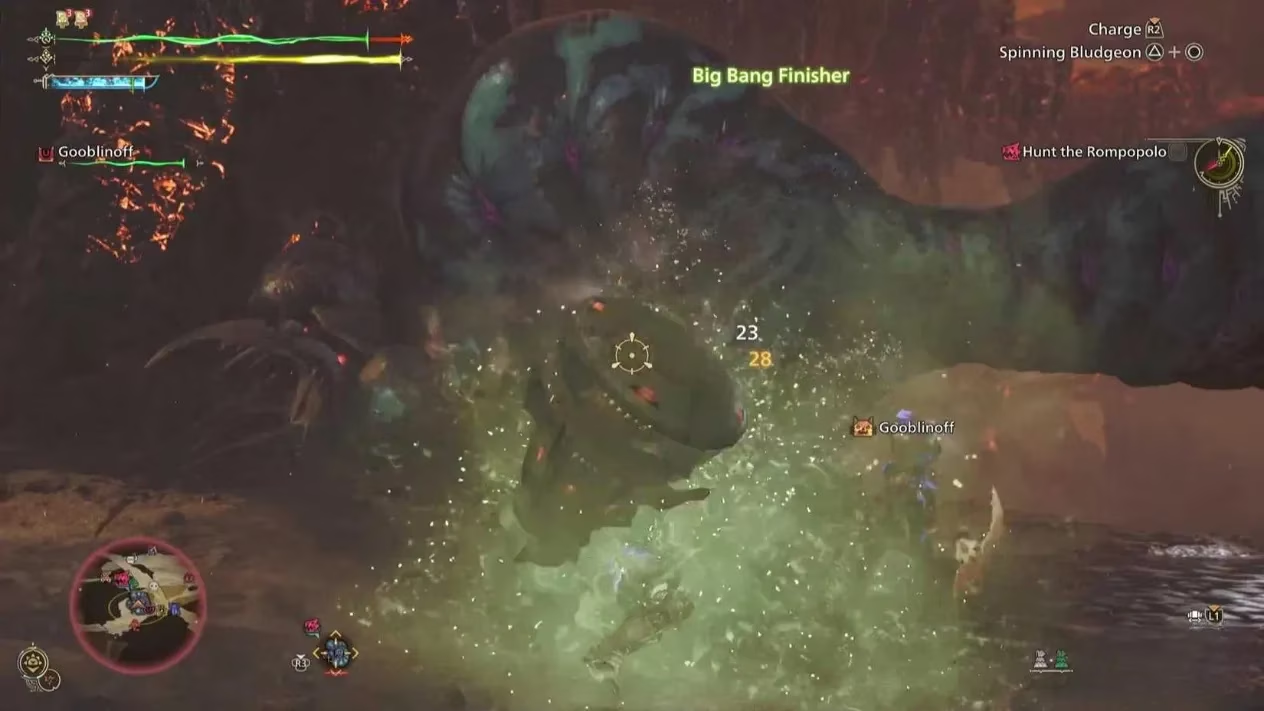
The following breakdown is based on GamesRadar+, whose broad coverage of action-RPG combat systems helps frame why a Monster Hunter Wilds hammer setup built around Burst uptime, affinity, and evasive positioning can outperform greedier raw-damage variants. In practice, that perspective reinforces the blog’s core idea: the hammer wins not by constant status stacking, but by controlling tempo through head pressure, reliable stun opportunities, and disciplined movement that turns every safe opening into meaningful burst damage.