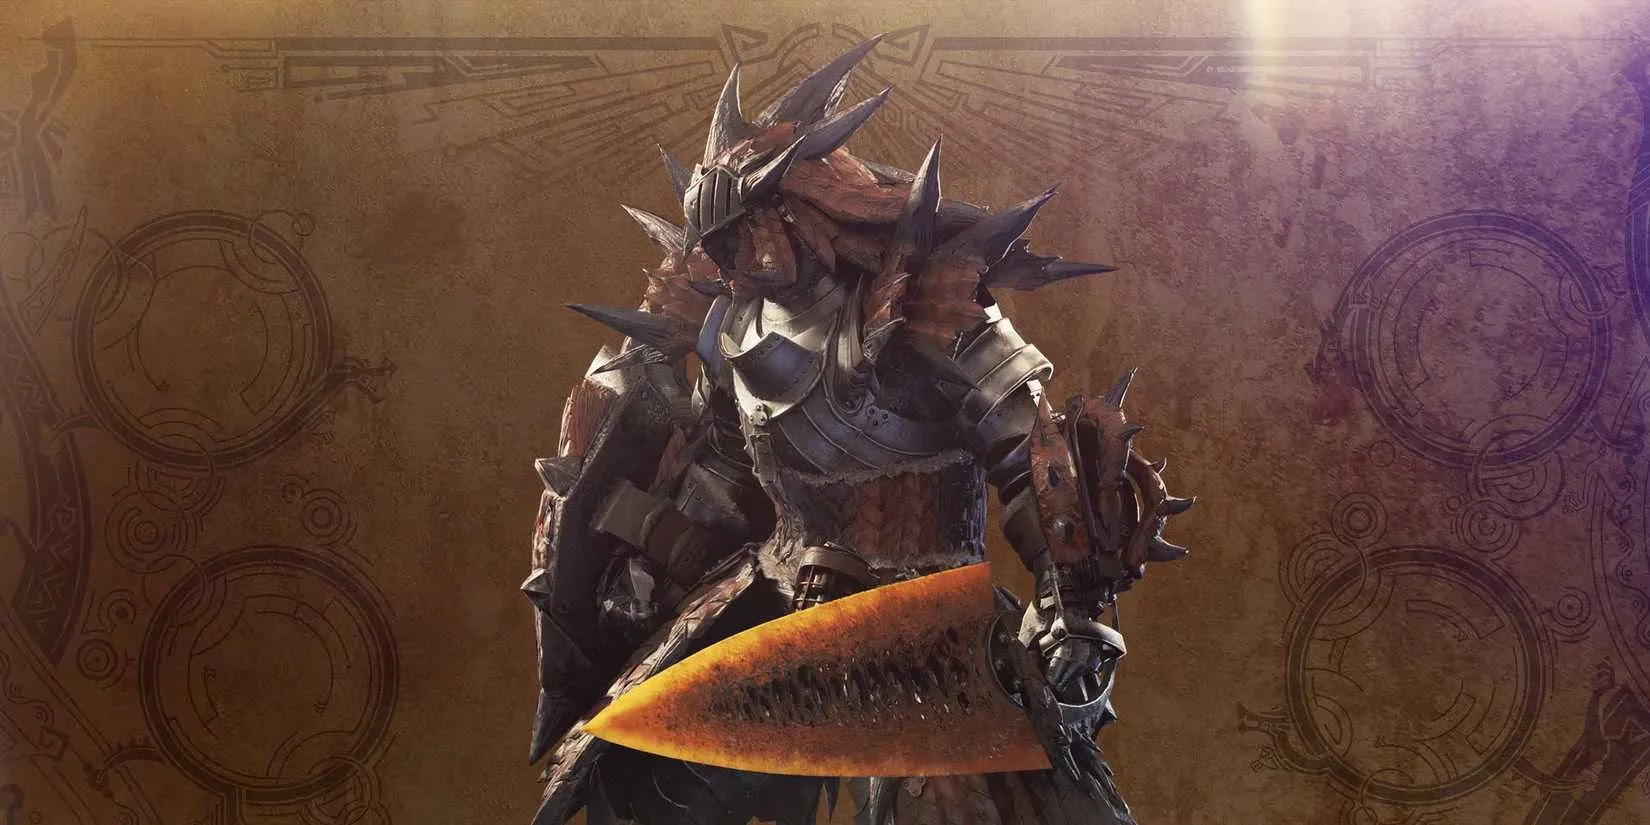
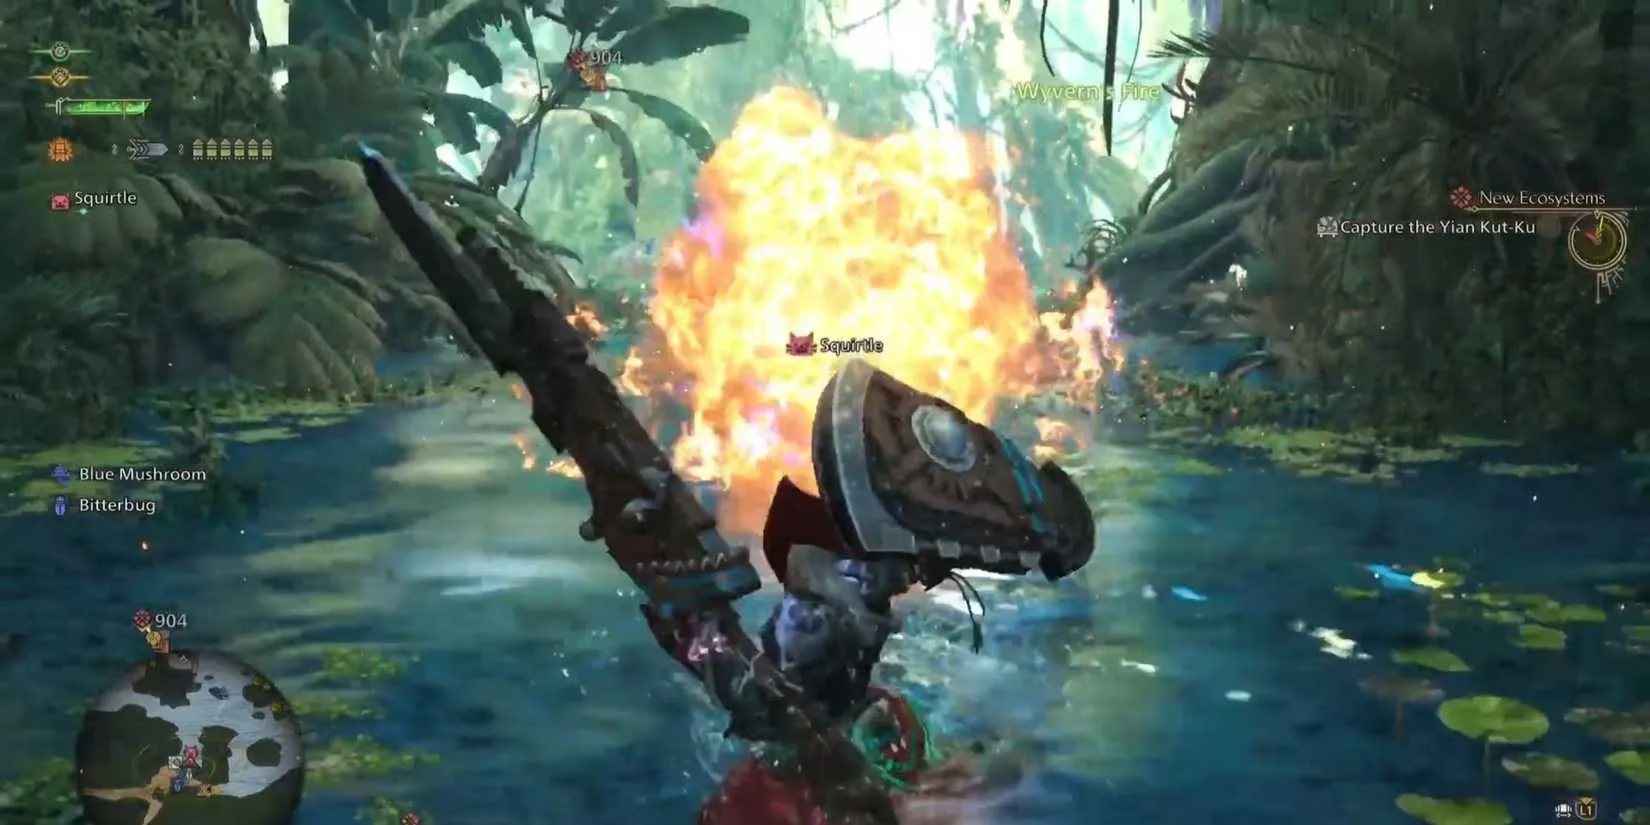
As a dedicated hunter who has spent countless hours in the New World, I can confidently say that Monster Hunter Wilds has redefined the series. Its breathtaking, seamless environments and the most visually spectacular monster encounters to date have captivated a global audience, making it the most commercially successful launch in the franchise's history as of 2026. Beyond the spectacle, the game's mechanical depth remains unparalleled. The intricate dance of combat, the vast array of weapon types, and the streamlined yet profound skill and crafting systems offer a playground for diverse playstyles. For hunters like myself who relish standing firm against the most terrifying creatures, the role of the tank—absorbing punishment and controlling the battlefield—is not just viable; it's a thrilling and strategic cornerstone of both solo and cooperative play.
In the ever-evolving meta of Monster Hunter Wilds, three weapon archetypes have solidified their reputation as the premier choices for tanking: the stalwart Lance, the explosive Gunlance, and the agile Sword and Shield. Each offers a distinct approach to defense. The Lance is the pinnacle of unwavering guard, the Gunlance combines shielding with devastating retaliatory blasts, and the Sword and Shield trades raw defensive power for mobility and the high-skill ceiling of perfect blocks. Based on the latest endgame strategies circulating among top hunters, here are the most effective tank builds to master in 2026.
Top Co-op Tank Builds for Holding Aggro
When hunting with a team, your primary goal is to become the monster's sole focus. This is achieved through the crucial Diversion group skill, which significantly increases the likelihood monsters will attack you. A well-built tank allows your damage-dealing allies to attack with impunity, creating a smooth and efficient hunt.
1. The Unbreakable Sword & Shield Sentinel
This build is for the nimble tank who commands attention through presence and precision.
-
Armor Pieces:
-
Arkvulcan Helm (beta)
-
Numinous Shroud (beta)
-
Arkvulcan Vambraces (beta)
-
Arkvulcan Coil (beta)
-
Numinous Greaves (beta)
-
-
Charm/Decorations:
-
Challenger Charm II
-
Tenderizer Jewel
-
Chain Jewel
-
Phoenix Jewel
-
Physique Jewel
-
Recovery Jewel
-
The core of this setup is the Diversion skill provided by the Arkvulcan pieces, ensuring you are the star of the monster's show. It doesn't stop at mere aggro holding, however. Skills like Agitator, Burst, and Weakness Exploit provide substantial offensive power, allowing you to contribute meaningful damage during openings. Furthermore, Health Recovery and stamina management skills ensure you can stay in the fight indefinitely. Mastering the perfect block (Guard Point) with the Sword and Shield is key to negating damage entirely, making this a high-skill, high-reward tanking style.
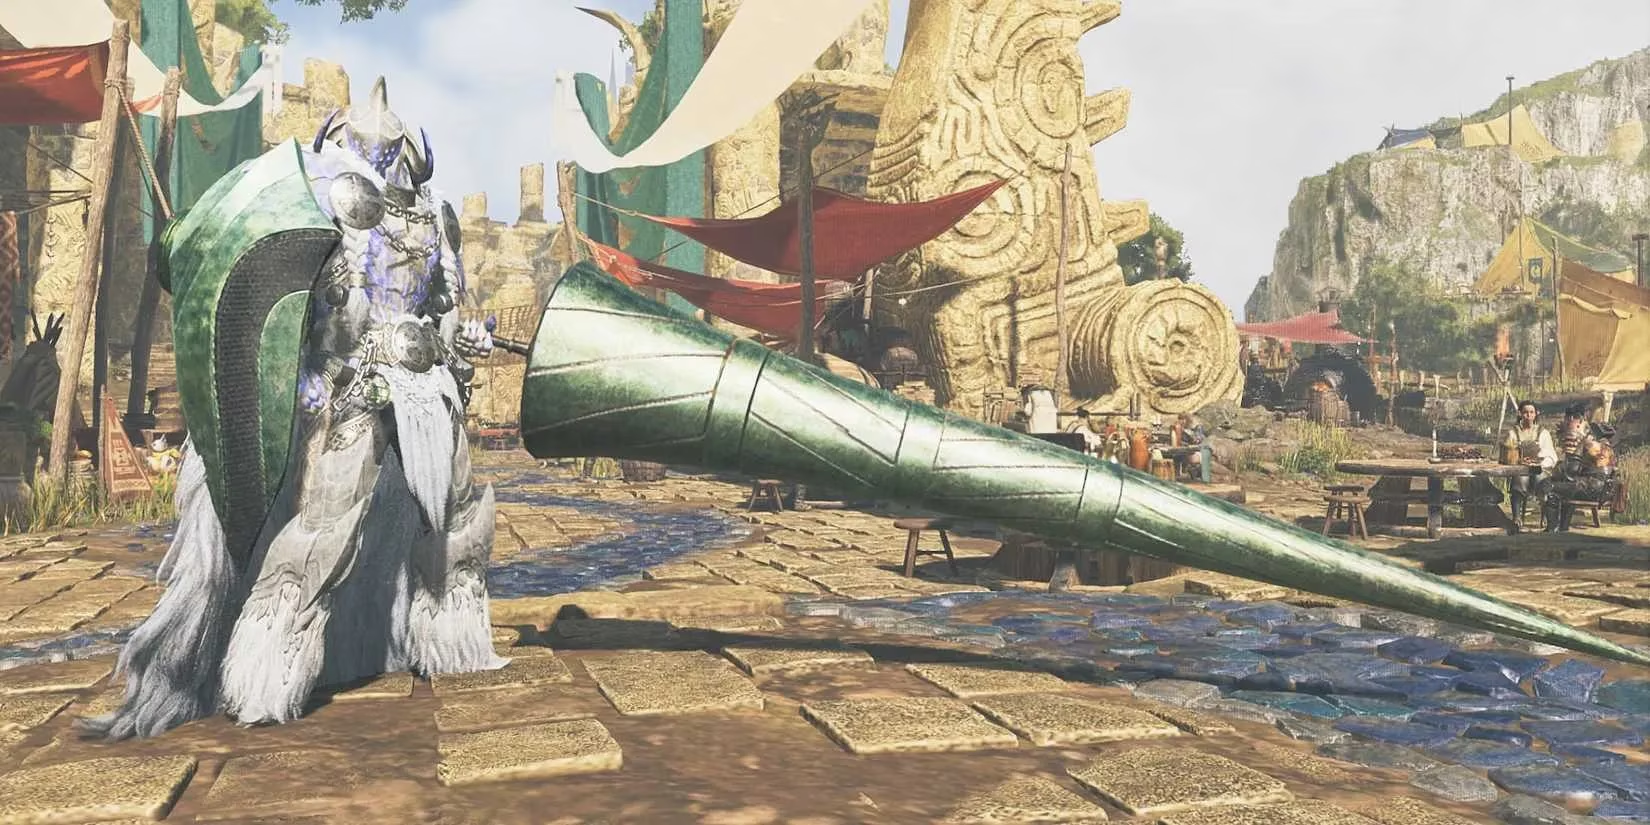
2. The Counter-Explosive Gunlance Bastion
For those who believe the best defense is a massive, explosive counterattack, this Gunlance build is perfection.
-
Armor Pieces:
-
Numinous Crown (beta)
-
Numinous Shroud (beta)
-
Blango Vambraces (beta)
-
Mizutsune Coil (beta)
-
Mizutsune Greaves (beta)
-
-
Charm/Decorations:
-
Chain Charm II
-
Counter Jewel
-
Challenger Jewel
-
Guardian Jewel
-
Earplugs Jewel
-
Again, Diversion is secured here through the Mizutsune and Blango armor pieces. The true synergy lies in the Zoh Shia set bonus, Super Recovery, which passively heals the chip damage you'll absorb while guarding. This build transforms you into a fortified artillery emplacement. Skills like Offensive Guard and Counterstrike reward well-timed blocks with massive damage boosts, which synergize perfectly with the Gunlance's powerful Wyrmstake Cannon and Full Burst combos. Earplugs ensure you never lose your defensive posture to a disruptive roar.
3. The Impenetrable Lance Fortress
The classic tank. This Lance build offers what is arguably the most robust and straightforward defensive playstyle in the game.
-
Armor Pieces:
-
Numinous Crown (beta)
-
Numinous Shroud (beta)
-
Blango Vambraces (beta)
-
Mizutsune Coil (beta)
-
Mizutsune Greaves (beta)
-
-
Charm/Decorations:
-
Challenger Charm II
-
Chain Jewel
-
Tenderizer Jewel
-
Mighty Jewel
-
Physique Jewel
-
Protection Jewel
-
Utilizing the same Diversion and Zoh Shia core as the Gunlance build, this configuration maximizes the innate guarding prowess of the Lance. With high ranks in Guard and Constitution, your shield becomes an insurmountable wall. You can literally stand your ground against any assault. Yet, you are not a passive bystander. Agitator and Weakness Exploit provide the affinity and raw damage needed to punish monster attacks with precise, high-damage counter-thrusts and the powerful Anchor Rage silkbind move, making you an immovable object and an unstoppable force.
Dominating Solo: Tank Builds for the Lone Hunter
Tanking alone requires a fundamental shift in philosophy. Without a team to deal damage, your build must seamlessly blend supreme survivability with consistent, potent offense. You are both the shield and the sword.
1. The Balanced Sword & Shield Duelist
This solo S&S build is a masterpiece of equilibrium, perfect for hunters who enjoy a dynamic, reactive style.
-
Armor Pieces:
-
Numinous Crown (beta)
-
Numinous Shroud (beta)
-
G. Arkveld Vambraces (beta)
-
Gore Coil (beta)
-
Gore Greaves (beta)
-
-
Charm/Decorations:
-
Challenger Charm II
-
Tenderizer Jewel
-
Chain Jewel
-
Phoenix Jewel
-
Physique Jewel
-
Recovery Jewel
-
The genius here is the fusion of two powerful set bonuses. Zoh Shia's Super Recovery handles sustainability, while the Gore Magala armor pieces grant the Black Eclipse bonus, which significantly boosts your attack power. Paired with multiple ranks in Burst, Agitator, and Weakness Exploit, your affinity and elemental damage will remain sky-high. This build encourages an aggressive, in-your-face playstyle where you use perfect guards to create openings, then unleash a relentless flurry of attacks. It's the ultimate expression of offensive defense.
2. The High-Risk, High-Reward Gunlance Brawler
For the solo hunter who enjoys calculated risks and explosive payoffs, this Gunlance setup is incredibly potent.
-
Armor Pieces:
-
Rey Sandhelm (gamma)
-
Numinous Shroud (beta)
-
Rey Sandbraces (gamma)
-
Numinous Overlay (beta)
-
Rey Sandgreaves (gamma)
-
-
Charm/Decorations:
-
Chain Charm II
-
Chain Jewel
-
Counter Jewel
-
Challenger Jewel
-
Guardian Jewel
-
Earplugs Jewel
-
This build combines the reliable Zoh Shia healing with the audacious bonus from the arch-tempered Rey Dau (Sand) set: Guts (Tenacity). This skill provides a substantial attack boost as long as you avoid a lethal blow. Given this build's high Guard and Constitution, you are exceptionally adept at blocking damage, making the attack bonus nearly permanent. The playstyle is thrilling: block a colossal attack with Offensive Guard active, then immediately retaliate with a devastating Wyrmstake Cannon into Full Burst combo, all amplified by Agitator and Burst. It's a symphony of defense and overwhelming firepower.
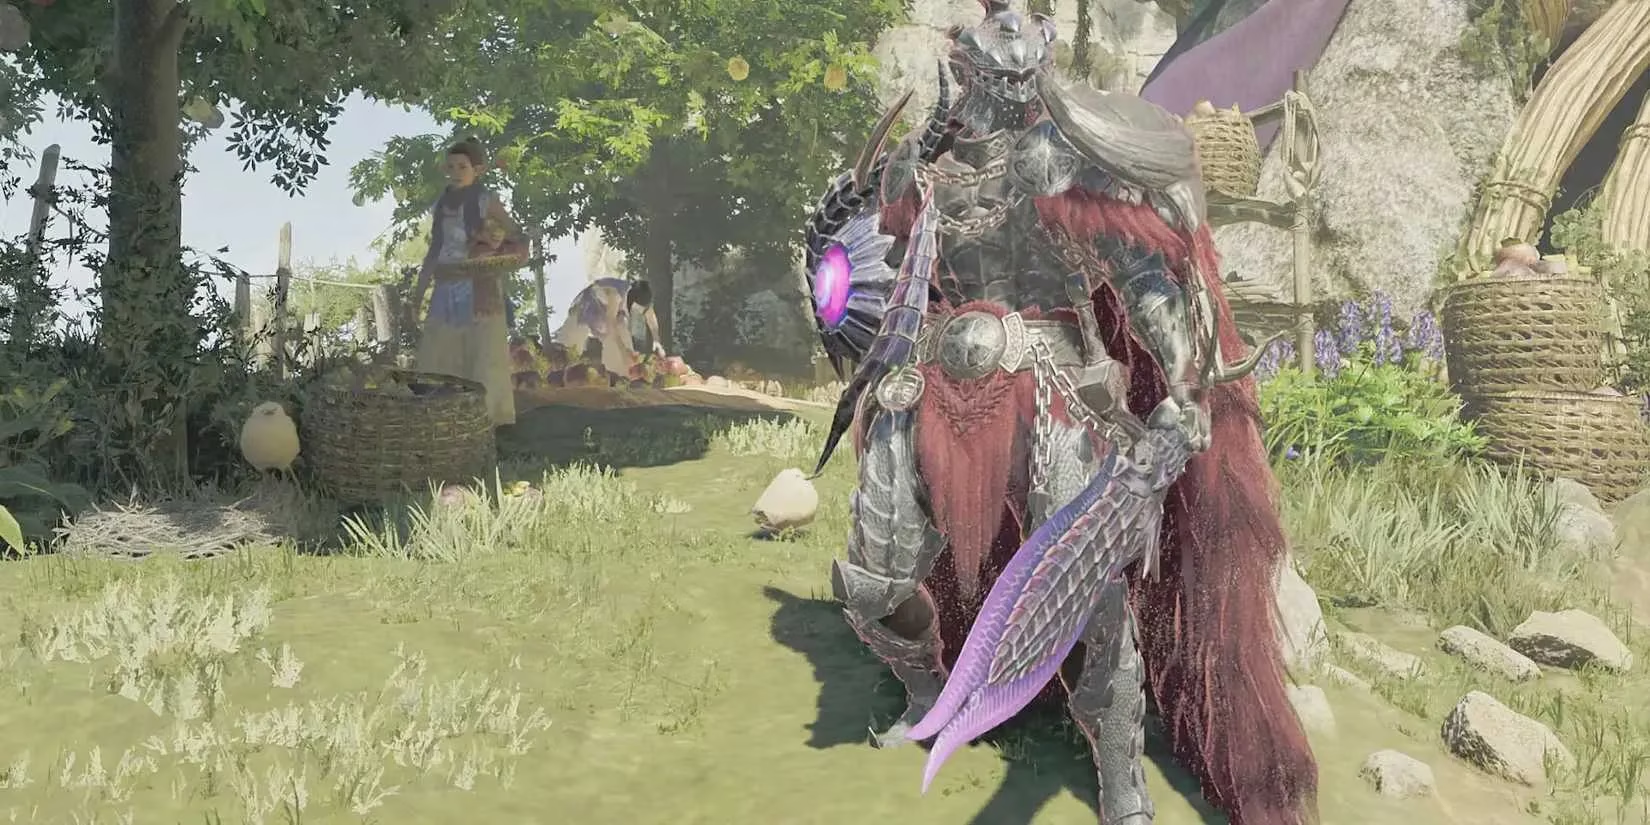
3. The Critical-Hit Lance Juggernaut
This Lance build is for the solo perfectionist who wants to achieve near-invulnerability while landing consistently powerful critical hits.
-
Armor Pieces:
-
Numinous Crown (beta)
-
Numinous Shroud (beta)
-
G. Arkveld Vambraces (beta)
-
Gore Coil (beta)
-
Gore Greaves (beta)
-
-
Charm/Decorations:
-
Challenger Charm II
-
Chain Jewel
-
Tenderizer Jewel
-
Mighty Jewel
-
Physique Jewel
-
Protection Jewel
-
-
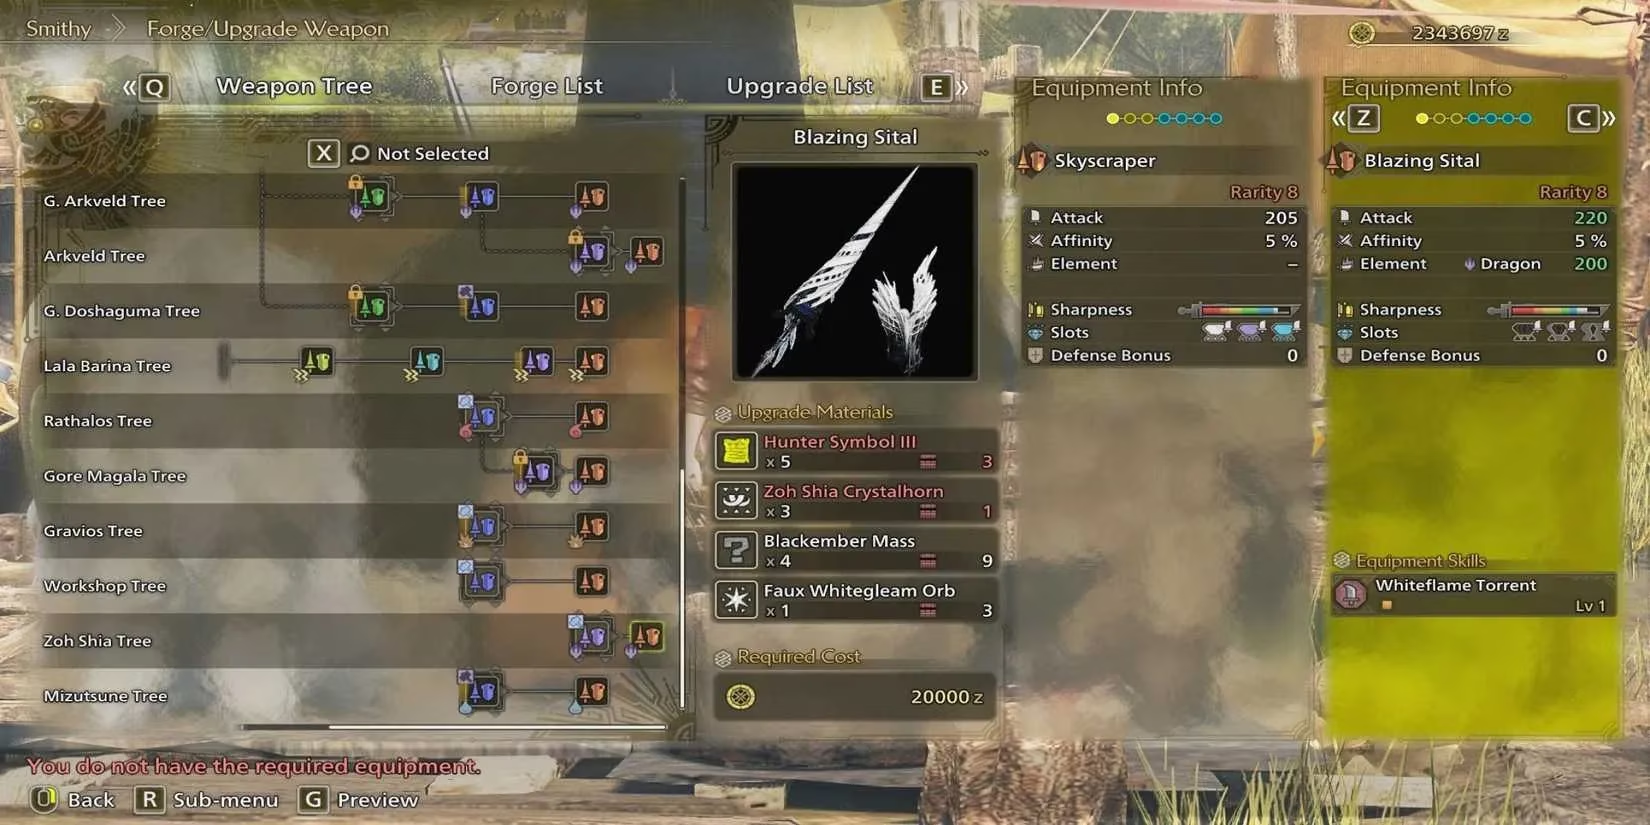
Weapon Recommendation: Skyscraper Artian Lance (Max Attack Infusion, Paralysis Status)
This is the apex of defensive Lance play for the solo hunter. The foundation is the reliable Zoh Shia Super Recovery and high Guard skill. The offensive engine is a critical-hit machine: Agitator, Weakness Exploit, and the Gore Magala's Black Eclipse bonus push your affinity to incredible levels, which is then magnified by Critical Boost and Burst. Using a high-raw weapon like the Artian Lance, augmented for maximum attack and a status like Paralysis, makes you a controlling force. You can block incessantly, paralyze the monster for free damage windows, and land frequent, bone-crunching critical thrusts. Adding Offensive Guard completes the package, ensuring every perfect block translates directly into more pain for the monster.
Final Thoughts from the Field
As we move through 2026, the meta in Monster Hunter Wilds continues to be shaped by these foundational principles of tanking. Whether you're the unyielding anchor of a hunting party or a self-sufficient lone wolf, mastering these builds requires not just the right gear, but also patience, positioning, and a deep understanding of monster patterns. The thrill of weathering a cataclysmic attack and responding with a perfectly executed counter is what makes tanking in Wilds such a deeply rewarding playstyle. So, equip your shield, sharpen your weapon, and step into the wilds—the monsters are waiting for a true challenge.